How to add a new version
Detailed file requirements and allowed extensions are described in the
Content requirements.
-
On the editing page, click the "Add version" button.
-
In the form that opens, fill in the information
- Version name: for example, CoolAdventure - 1.1.1.
- Type: Release (stable) or Beta (testing, may contain bugs).
- Game version: the Minecraft version for which the file is intended.
-
Activity
- Available (file is always visible).
- Disabled (file is visible only during editing).
-
For mods and modpacks, specify additionally:
-
For a mod
- Version type: Forge, Fabric, Quilt, or NeoForge.
-
For a modpack
- Version type: Forge, Fabric, Quilt, or NeoForge.
- Version name: specify the exact version (e.g., for Fabric - 0.17.1, for Forge -
58.1.0).
-
Important for modpacks:
When uploading a modpack (as an archive), make sure the mods included in it are correctly formatted
on the website. This affects the modpack's functionality:
4.1. If the mods included in the modpack are already on the website, you don't need to upload them
inside the archive.
Instead, click the "ADD" button and select the appropriate mods from the list.
- Enter the desired mod and click search.
- Select the mod version and click the plus button.
- The desired mod will appear in the right column. If necessary, remove it by clicking the
cross. Return to the item and continue editing.
4.2 If some mods are not on the website, upload them yourself.
-
Important for other content (mods, resource packs, maps, shader packs):
When uploading content (as an archive), make sure all dependencies are correctly installed, as this
affects the functionality of the added content:
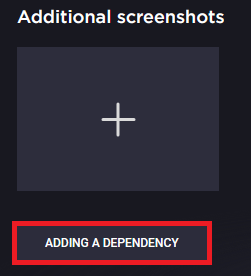
- If the content depends on another mod, click the "ADD DEPENDENCY" button and select the relevant
mods from the list.
-
Upload the files.
 Sign up
 Log in